Plumbing is a foundational infrastructure element in any built environment, essential for ensuring clean water supply and effective wastewater removal. While residential plumbing systems serve private homes, commercial plumbing systems cater to larger, more complex facilities such as office buildings, clinics, shopping malls, restaurants, hotels, schools, and factories. Due to the scale, scope, and specific regulatory demands of commercial operations, these systems differ significantly from their residential counterparts in terms of design, materials, maintenance, and operational requirements.
This article provides a comprehensive overview of commercial plumbing systems, discusses their types, components, and operational dynamics, and compares them with residential systems to highlight their unique characteristics. It also examines the importance of proper commercial plumbing design and maintenance and addresses emerging technologies reshaping the industry.
What Is a Commercial Plumbing System?
A commercial plumbing system refers to the infrastructure, fixtures, and network of pipes that manage the supply of potable water and the removal of waste and sewage in commercial properties. These systems must accommodate a larger number of users, higher water demands, and complex layouts, often spread across multiple floors and zones within a building or facility.
Commercial plumbing systems also involve specialized sub-systems for heating water, managing stormwater, processing wastewater, and providing fire suppression systems like sprinklers. Given their larger scale and public usage, commercial systems are subject to more rigorous building codes, health regulations, and safety standards than residential plumbing systems.
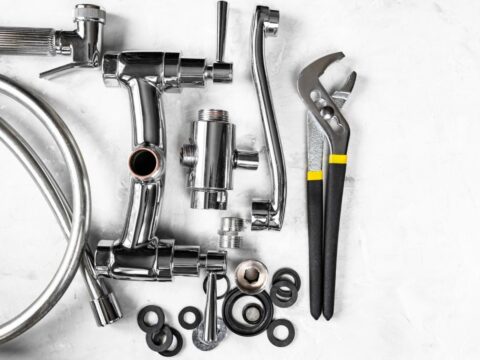
Key Components of Commercial Plumbing Systems
A commercial plumbing system comprises several interconnected parts that work together to ensure consistent water supply and efficient waste removal. Some of the essential components include:
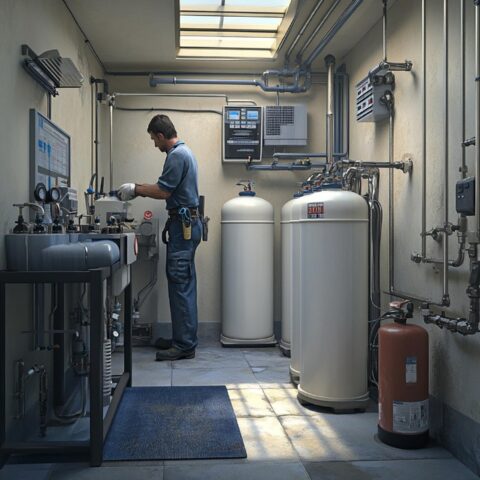
1. Water Supply System
- Brings potable water into the building.
- Uses pressurized municipal water lines or sometimes on-site wells.
- Includes backflow prevention devices to protect against contamination.
- May incorporate booster pumps to maintain adequate pressure in multi-story buildings.
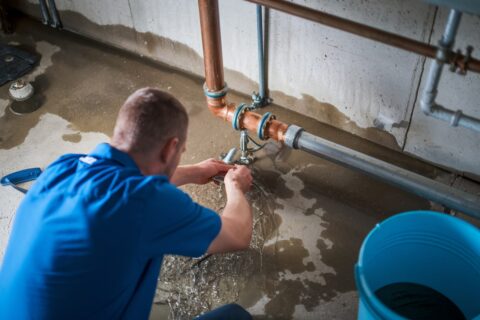
2. Drainage System
- Carries wastewater from fixtures to the municipal sewer system or on-site treatment facilities.
- Uses gravity flow assisted by vent pipes that equalize air pressure within the pipes.
- Includes traps, interceptors (for grease or oil), and cleanouts for maintenance.
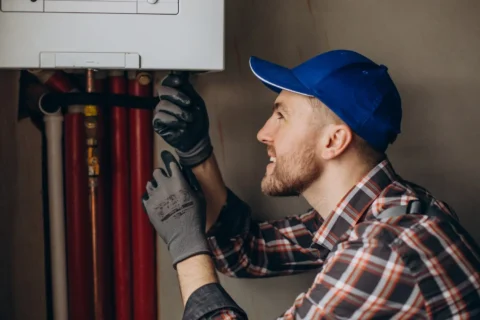
3. Hot Water Systems
- Include water heaters, boilers, and storage tanks.
- Systems vary based on demand: restaurants and clinics require more hot water capacity than office buildings.
- Often supplemented by recirculation lines to maintain consistent hot water availability.
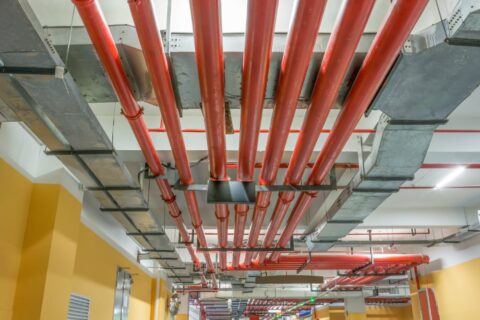
4. Stormwater Drainage
- Collects and diverts rainwater from roofs, parking lots, and outdoor areas.
- Prevents flooding and water damage.
- Includes roof drains, gutters, downspouts, catch basins, and underground piping.
5. Specialty Systems
- Fire suppression systems: Standpipes and sprinklers for use in an emergency.
- Medical gas systems in healthcare facilities.
- Chemical waste systems in laboratories or industrial plants.
Types of Commercial Plumbing Systems
Commercial buildings may feature different plumbing system designs based on their specific operational needs and architectural layouts. The primary types of commercial plumbing systems include:
1. Single-Pipe System
- All fixtures connect to a single stack for both waste and venting.
- Common in small-scale commercial properties.
- Simplifies installation but can be limited in capacity and flexibility.
2. Two-Pipe System
- Separate pipes for wastewater and venting.
- More efficient and safer as it minimizes the risk of pressure issues or sewer gas leaks.
- Frequently used in multi-story and high-traffic buildings.
3. Upfeed and Downfeed Systems
- Upfeed System: Water pressure from the municipal supply is sufficient to reach upper floors.
- Downfeed (Gravity) System: Water is pumped to rooftop tanks and distributed via gravity.
- Building height and available water pressure determine the choice.
4. Hydronic Heating Systems
- Circulates hot water through pipes for space heating.
- Often integrated with domestic hot water systems in commercial buildings.
Commercial Plumbing vs. Residential Plumbing
Although both residential and commercial plumbing systems serve the same fundamental functions — water supply and waste removal — there are critical differences in their design, materials, code requirements, and operational complexities.
| Aspect | Residential Plumbing | Commercial Plumbing |
| Size & Scope | Small-scale; usually 1-3 bathrooms, kitchen, laundry | Large-scale; multiple restrooms, kitchens, specialized facilities |
| Complexity | Relatively simple layout | Complex layouts with multiple floors and usage zones |
| Fixtures | Standard household fixtures | High-capacity, durable, and specialized fixtures |
| Usage Demand | Lower water consumption and waste generation | Higher, more variable demand depending on occupancy and purpose |
| Water Pressure | Typically uniform throughout the property | Requires pressure regulation across floors |
| Maintenance Frequency | Less frequent; fewer users | More frequent; critical due to public health and regulatory standards |
| Code Compliance | Local residential codes | Strict commercial codes including ADA, OSHA, and specialized health regulations |
| System Redundancy | Rarely needed | Often includes backup systems for critical operations |
Importance of Proper Design in Commercial Plumbing
Inadequate or poorly designed commercial plumbing systems can lead to operational disruptions, safety hazards, and significant financial losses. Key considerations in commercial plumbing design include:
- Capacity Planning: Systems must accommodate peak water usage without loss of pressure or capacity.
- Code Compliance: Designs must adhere to local, state, and federal building and health codes.
- Energy Efficiency: Use of low-flow fixtures, energy-efficient water heaters, and smart control systems.
- Accessibility: Compliance with ADA standards for fixture height, handle accessibility, and restroom design.
- Flexibility: Capacity for future modifications and expansions without major disruptions.
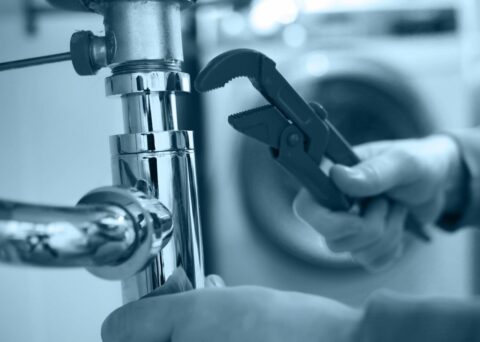
Common Challenges in Commercial Plumbing
Commercial plumbing systems face unique operational and maintenance challenges due to their size, usage volume, and regulatory environment:
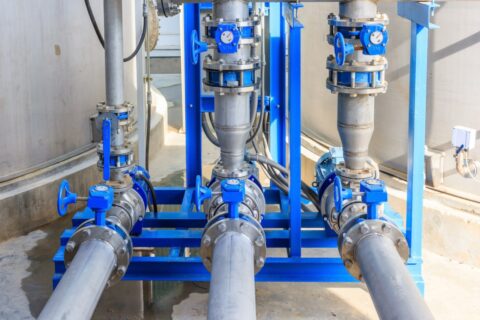
- Pressure Balancing: Maintaining consistent water pressure across multi-story buildings.
- Backflow Prevention: Ensuring potable water lines are protected from contamination risks.
- Pipe Aging & Corrosion: Larger, older buildings often struggle with decaying infrastructure.
- Fixture Wear: Higher traffic leads to faster deterioration of fixtures and valves.
- Waste Blockages: Accumulation of grease, debris, or foreign objects can cause severe clogs.
- Emergency Readiness: Ensuring fire suppression and other emergency systems are always operational.
Emerging Technologies in Commercial Plumbing
The commercial plumbing industry is evolving with new technologies aimed at improving efficiency, sustainability, and operational control:
1. Smart Plumbing Systems
- Sensors for leak detection, water usage monitoring, and remote control.
- Cloud-based management platforms for large properties or property portfolios.
2. Water Reclamation & Recycling
- Greywater systems for reusing sink and shower water in toilets and irrigation.
- Rainwater harvesting for landscaping and cooling systems.
3. Touchless Fixtures
- Automated faucets, toilets, and soap dispensers to enhance hygiene and reduce water use.
4. High-Efficiency Fixtures
- Low-flow toilets, urinals, and faucets certified by WaterSense or LEED.
5. Hydronic Heating Upgrades
- Condensing boilers and solar thermal water heating integration for greater energy efficiency.
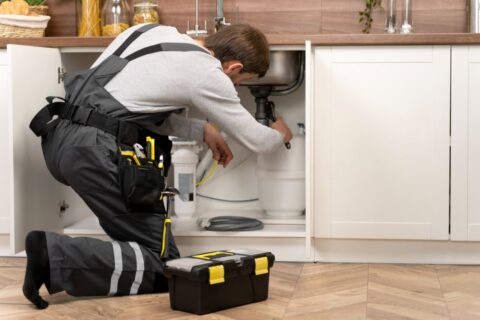
Best Practices for Commercial Plumbing Maintenance
Effective maintenance extends the lifespan of plumbing systems, reduces operational costs, and minimizes downtime. Recommended best practices include:
- Regular Inspections: Routine checks for leaks, corrosion, water pressure, and fixture operation.
- Scheduled Cleaning: Drain and sewer line cleaning to prevent blockages.
- Valve Exercising: Periodic operation of shutoff valves to prevent seizure.
- Backflow Testing: Annual testing of backflow preventers as required by codes.
- Water Quality Monitoring: Ensuring safe potable water and optimal water heater performance.
Conclusion
Commercial plumbing systems are complex infrastructures designed to handle the high demands and specific needs of business and public facilities. They differ from residential systems in scale, complexity, regulatory oversight, and operational challenges. An effective commercial plumbing system must provide reliable water supply, efficient wastewater removal, and adequate safety provisions, all while complying with strict codes and sustainability goals.
Understanding the types of systems, key components, and best practices for maintenance can help property owners, facility managers, and plumbing professionals ensure operational efficiency, safety, and regulatory compliance. As technologies evolve, integrating smart controls, water-saving fixtures, and sustainable design principles will become increasingly vital in shaping the future of commercial plumbing infrastructure.